Configuring Automations
Many of Pia's Automations have a Configuration section which allows you to customise the operation of Automations for each Client. This includes field values and checkbox options.
To speed up this process, Automations come with a lots of standard options selected, including some placeholders the are automatically replaced with values from the Client's Global Configuration. View this link to learn more about Global configuration options.
You access the automation from the Automation list in the Client Dashboard
👀 How to get to Client Config
Navigating to Client Configuration
The easiest way to get to the configuration screen where you can add and configure clients is to:
- From the left-hand menu select 'Clients'
- You will be presented with a table of clients.
- Use the filters to find the client you are after; or
- Add a brand new client
- Click on the Client name, which is a link that will open up the detailed client configuration page
To add a client to your Pia Portal:
- First, ensure the company has a specified Company Type in your PSA connected service, and (if applicable) the correct specified UDF Value.
- Secondly, go to your PSA Connected Service and click Sync Now.
- This may take a few minutes, after which the new client should appear in your clients list, ready for configuration.
Watch the video for an overview:
Configuring the Automation
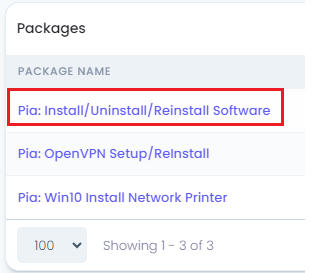
From the list of Packages select the Automation you want to configure.
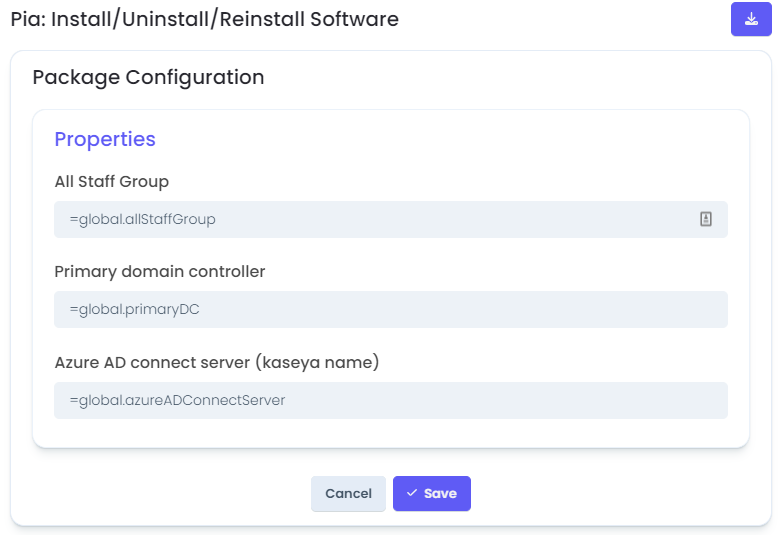
- The package configuration page opens. Under the Applies To heading, click Configuration

- The Procedure Configuration dialog box opens. Here you can configure how the Automation will work. Remember to click Save to keep your changes. Or click Cancel if you don't want to save the changes.
For more on Configuration for each Automation, refer to Pia Automation.